Question 3 - How did you use media technologies in the construction, research, planning and evaluation stages?
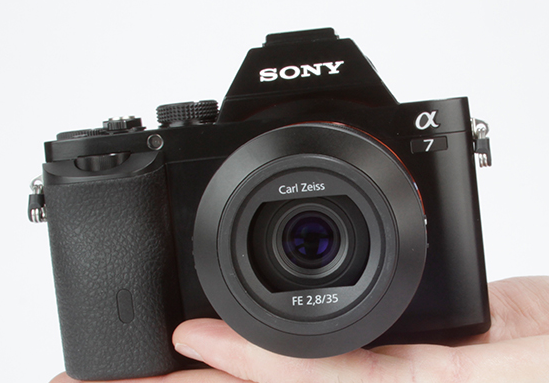
Camera - Sony A7
|
The camera was obviously the most important media technology we used throughout our trailer (alongside Final cut). We used this camera (Sony A7) instead of the cameras at school, (A58) as this camera enabled us to film better in the dark - this was something that was shown majorly in our trailer so it had to have a good purpose for this.
It produces a large amount of data. Without this camera we wouldn't have been able to produce the majority of our dark shots. (Without a camera we wouldn't have been able to film anything of course) it's just that this camera was more desired by our group. We used the camera to record videos and take photos (to use for planning, evaluation and our magazine/poster). The camera we used was much more technologically advanced to those that everybody else used at school. (These are the cameras they used)... 
|
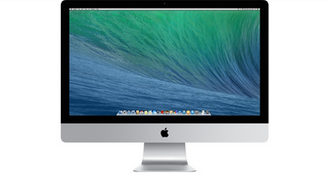
Apple mac
|
We used Apple Macs When using prezi, google and final cut pro to produce our trailer. They have allowed us to use final cut pro to edit our video whereas a PC doesn't provide this, it made our opening title sequence look professional and to a high standard. Overall it was very easy and simple to pick up how to use it.
|
|
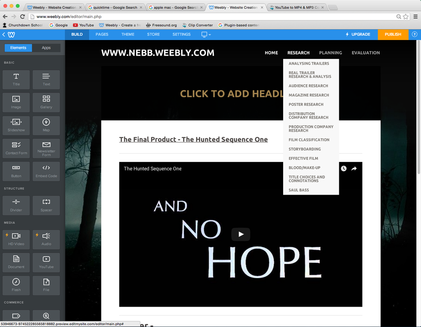
Weebly
|
We created our website on another site called 'Weebly'. We used this website to show and explain our blogs, research, planning and evaluation. It is a site that enables us to portray all of our coursework clearly.
Weebly has default themes for websites but for a horror we had to choose our own template and adjust it to what we felt was most appropriate for a horror based website. We had to create our own tool bar and it's contents (our drop down toolbar is shown in the screenshot on the left). 
|
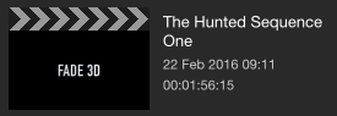
Final Cut Pro
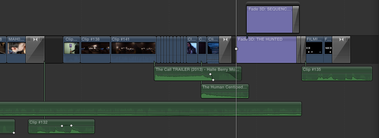
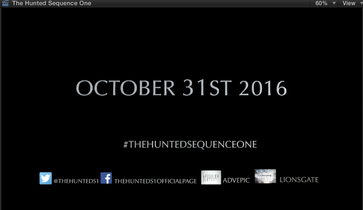
Final Cut Pro was the software/programme we used to create and edit our trailer 'The Hunted'. We had an advantage of using this programme due to all of our media group having used it in the past to create a variety of media, including our Opening Title Sequences which we made last year. This meant we all knew particular shortcuts to use making it quicker and easier and performing them correctly. We had to create a new project within Final Cut Pro so we had somewhere to save our work. As we started putting clips together we had to create a new timeline so we could edit our clips (effects, transitions, speed), and start putting them all in the correct order. Final Cut gives us many oppotunities to get really creative and allows us to do whatever we please. This is an advanced programme which makes us create the best possible trailer. |
|
|
|
We also used Final Cut Pro to make our titles within our trailer. This allowed us to change the font as well as the positioning. We could also change when each individual word came up on the screen; as for our titles we didn't want the whole title coming up at once. With this programme we were able to set them where we wanted on the screen, our background colour, our colour text, our font and how they came on the screen in our trailer. |
Video Editing
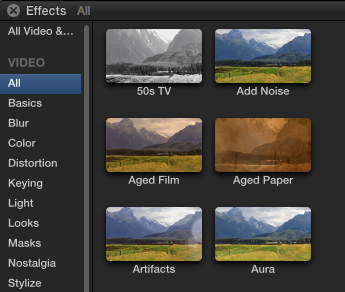
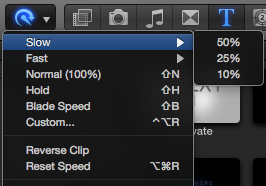
|
There are many edits you are able to do in video clips such as putting effects on them to make them a particular lighting/colour to fit the day or type of mood you are trying to create. You can also slow down or speed up your clips to add more effect. In a clip where Britt is walking away to her car, we slowed it down to highlight that Matt is watching her and that there is something wrong within in the trailer. This makes the audience question what is going to happen. Whilst constructing our trailer we had to edit our clips to make it look more like a trailer rather than a bunch of clips just put together. For example, the video of Matt pushing the lift button was very light due to it being daytime and inside so all of the lights were on. We decided to add an effect on it to darken it and make it a bit more uneasy. 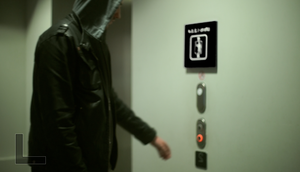
|
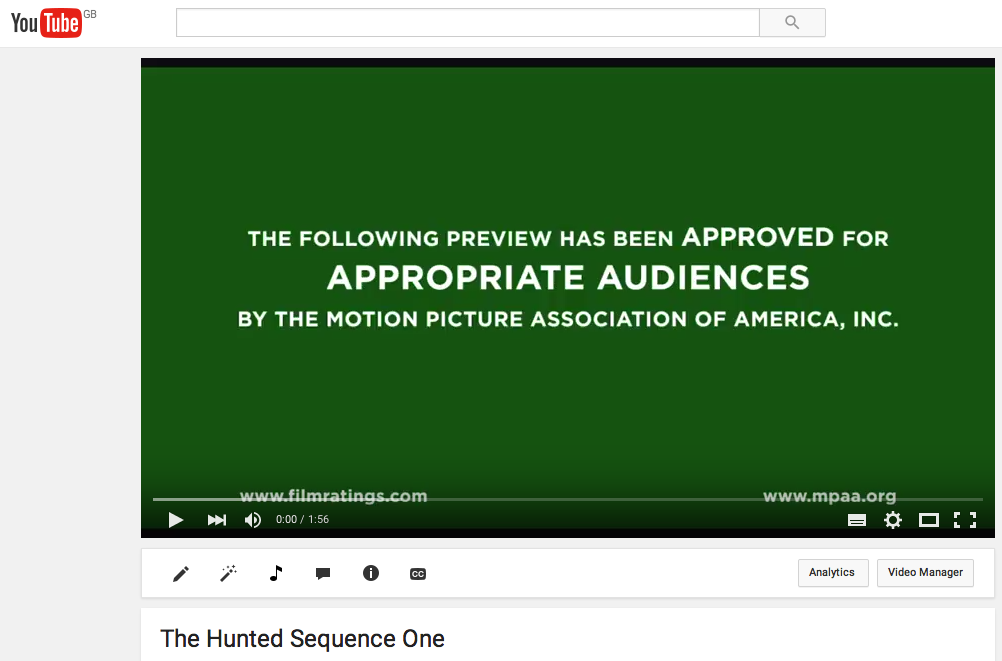
YouTube
|
We used YouTube a number of times whilst constructing, researching and planning our trailer. This included uploading our research of what our audience wanted to see and what they like, to make sure we were making the right trailer (in regards to genre etc). Our final product of 'The Hunted' has been uploaded to YouTube to make it playable to our audience and to enable us to upload it to our website and make it easy accessible. This was a valuable technology to use.
We had an advantage of using this due to all of our group having used it before, |
so know how to upload videos as well as viewing and searching for them whilst on there.
Youtube was also used as a main source for us to conduct our research. For example, when looking for appropriate scenes to mirror from other trailers such as 'The human centipede' and 'The call' we used Youtube to select these specific sections. Youtube is the best site to use to generate this sort of information as the majority of trailers are posted on Youtube almost immediately. |
|
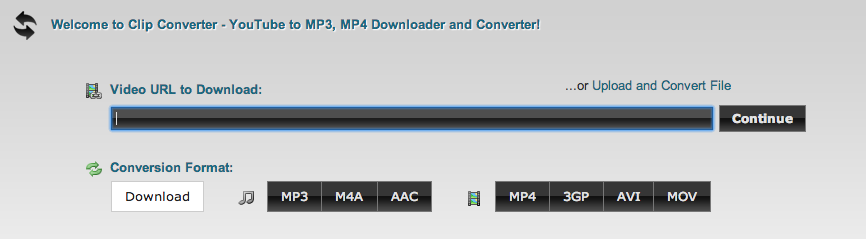
Clip converter/Youtube converter
|
In order to transfer media (such as background music) from Youtube we had to use either Youtube converter or clip converter... This converts a piece of media from a website such as Youtube and enables it to be processed to your PC or onto other media products for example, we'd transfer ours from Youtube to Final cut.
|
Photoshop
We came to use photoshop when we wanted to create our magazine and cover, as well as our poster. Photoshop allows us to get very creative and and make the magazine and poster exactly what we want and how we want it.
Prezi
Throughout our planning we used Prezi. Prezi is a source of mindmapping and creating short animations filled with information on a specified point. We have used Prezi quite a bit through our website as it is an easy way to collect all data and it's nice and clear. Prezi works like a slideshow, after gathering the information and creating the mindmap you can view it on a whole. This allows us to focus on the aspect that we choose to. When you click on the specified circle it enlarges the page so you can read the information within that. Prezi is a very good source as it looks very professional and is much better than using other programmes such as Powerpoint as more can be incorporated into a smaller space. Prezi is a chance for us to be creative. There are multiple templates to use for a Prezi so it's a good chance for us to portray the design we want.
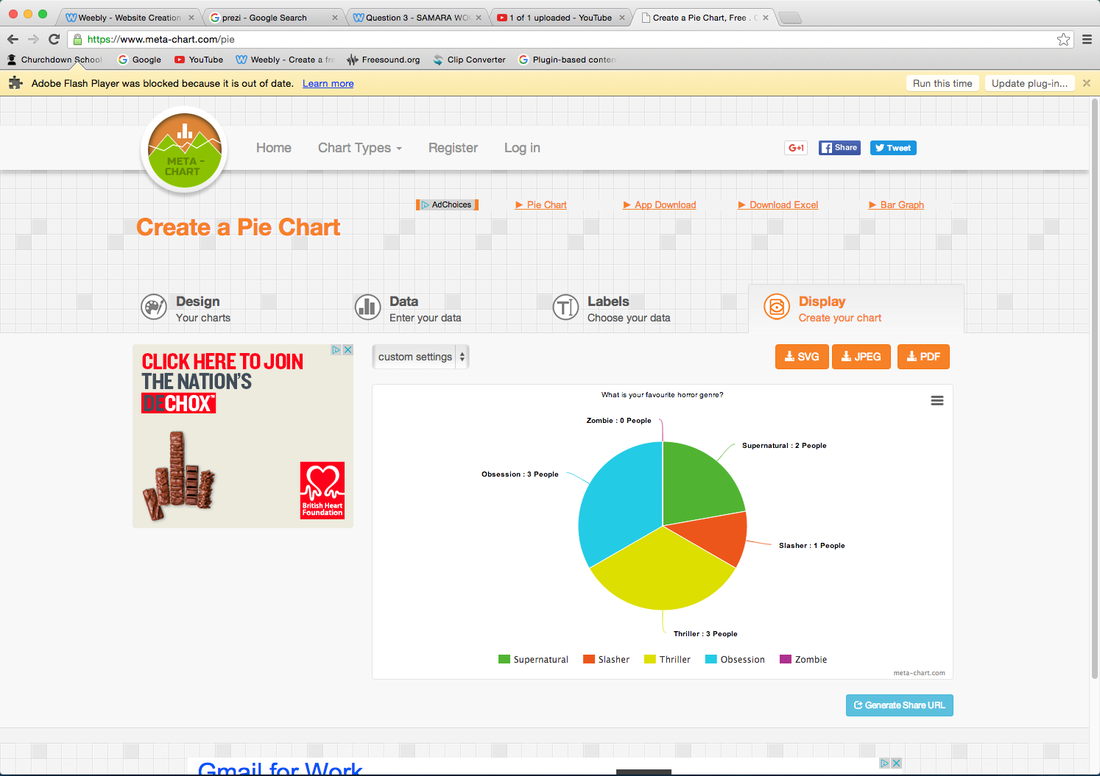
Meta-Chart
Meta-chart is an online system for gathering information and generating them into charts such as pie charts. We used this website as it's a good extra source of data for either planning or evaluating. Alongside generating pie charts it also gives us a clear cut idea of what our information actually looks like collected together.
A pie chart allows us and our audience to see just how much a topic is favoured and by doing this it shows the guidance we took to getting our trailer how it is.
A pie chart allows us and our audience to see just how much a topic is favoured and by doing this it shows the guidance we took to getting our trailer how it is.
Poll generator
|
We used a poll generating site as a source of generating our information from audience research. The site is called poll-maker and we chose to use this one as it was a free easy website with no sign up required. (Meaning it's time efficiency was amazing for us). We allowed multiple choice poll options as our audience's views may vary and that can't be generated; in order to have a clear guidance of what our audience really thinks about our questions they cannot be shortened just to prefer our information enquirers.
|
Would you prefer a woman or male leading role in a horror? |
Pic Monkey
We used Pic Monkey as well as Adobe Flash photoshop. We used Pic Monkey on our poster before we transformed it to Adobe Photoshop just to finish up some of our shots. Pic Monkey enables you to fix any blemishes or completely change a photo (if you prefer). Pic Monkey is a lot easier than using Adobe Photoshop as the tools that are needed are all obviously displayed in the tool bar on the left. Here's our example of how we have used Pic Monkey before...
Quicktime
|
Quicktime Player is a media player that allows you to Screen record, Audio record or Video record. Throughout constructing our media products we have used Quicktime to create screen casts. By doing this it shows the audience exactly how we have used a type of software and enables easy access to the products we have used. Here is an example of a screen cast that we have produced (on how to use the Quicktime software)...
|

|
