Shooting Schedule
Examples of Shooting Schedules:
|
|
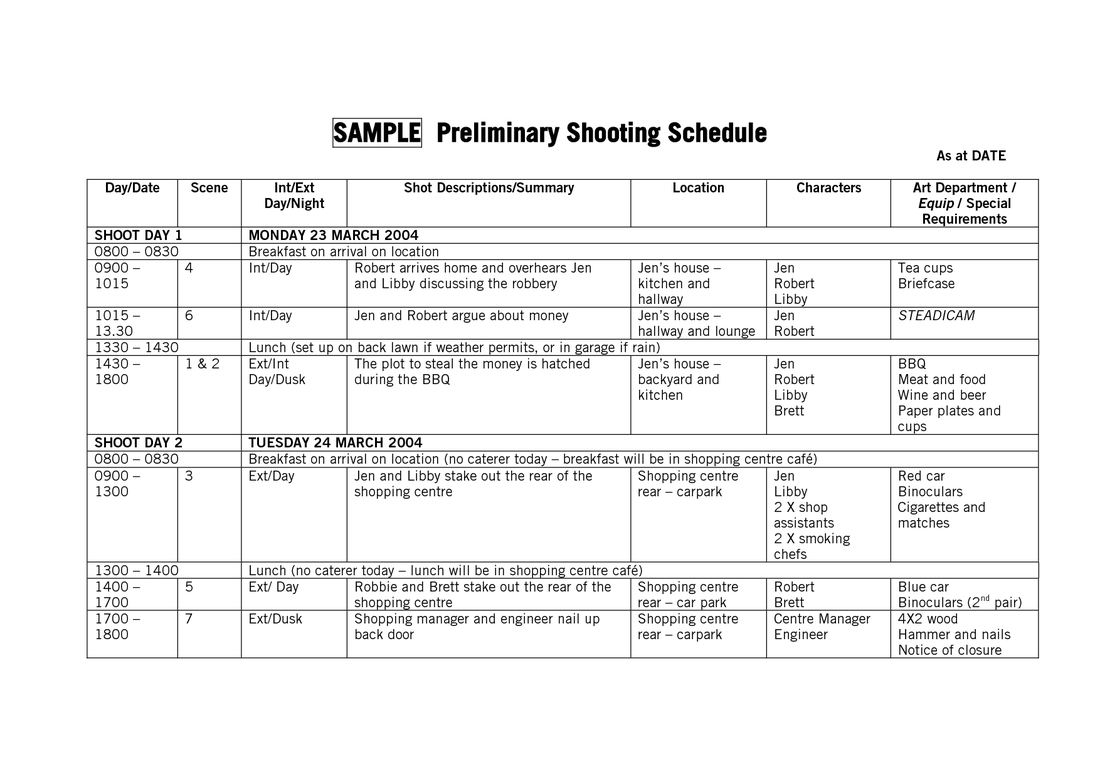
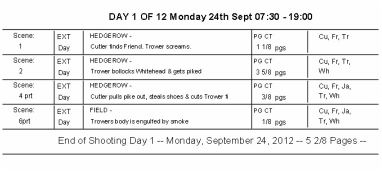
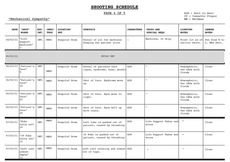
We liked the design of these shooting schedules as they're all different designs yet all seem as if they'd work efficiently. However, as shown in the first example, they had a clear cut time schedule and lunch breaks however, being students our filming was done in any spare time possible so that design wasn't possible. The example to the bottom left was too short for our design as there are only four boxes down which wasn't enough for us either considering we needed to get as many shots done as possible in one day so our shooting schedule would have to be much longer; we decided to use a design that was a mixture of all 3, a clear cut table that also had enough space for our detail we needed in order to spend our time efficiently.
Our shooting schedule:
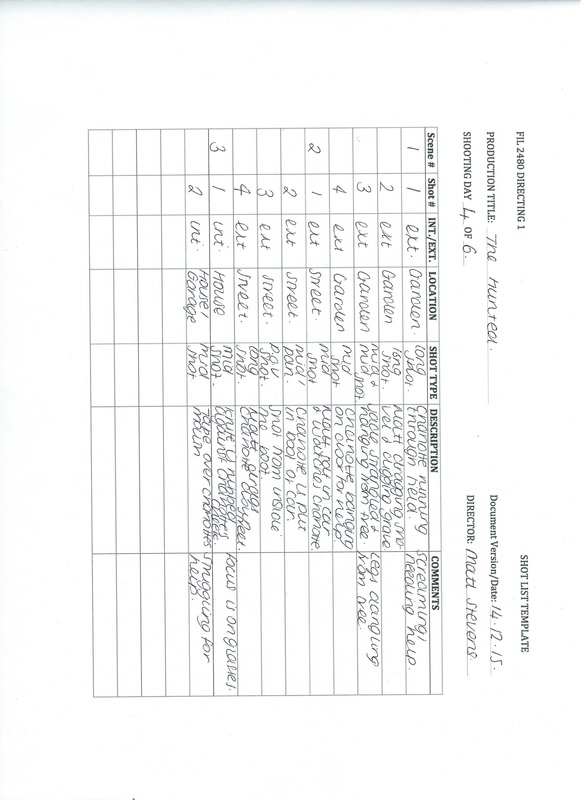
After examining many shooting schedules this is the design we have used due to the way its laid out; it is a clear graph yet it has enough columns in order for the information to all be inputed. This is only one schedule that we used to be shown as an example however, we had to do a shooting schedule for every scene we wanted to shoot as it was to be abided by with strict guidelines as it gave us a clear guide to what we were shooting where and at what time. At the beginning of filming we didn't abide by a shooting schedule and we found this hard as we didn't have any specific scene details we wanted to use which made the filming a little scattered. However, after we designed our shooting schedule and began filming as recorded on the schedule everything began to flow much easier and we got more filming done as all we had to do was follow what it was that we'd wrote in order for our time to be used efficiently.
